OK so we are going to get a texture a sky box, this is done by creating a tile-able texture, this will then be tiled across the sky box to create a realistic effect.
Step 1: Open Photoshop
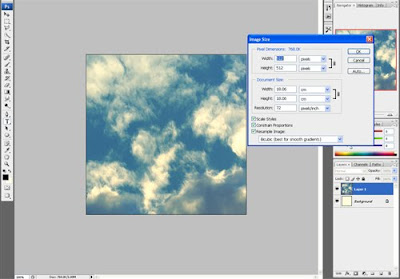
 Once you have done this you need to open a new document with the dimensions 512x512.
Step 2: Import the desired texture image and fit it inside the canvas but using the transform tool (Ctrl+T).
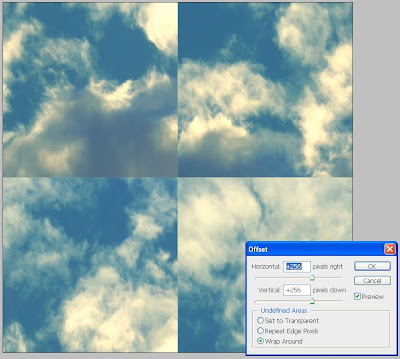
Step 3: Go to Filter>Other>Offset
And change the dimensions to 0's to 256x256 and the edges will become tiles and meet up.
Step 4: After this you need to you the clone stamp tool and then get rid of all of the lines, repeat step 3 and 4 until all lines are gone.
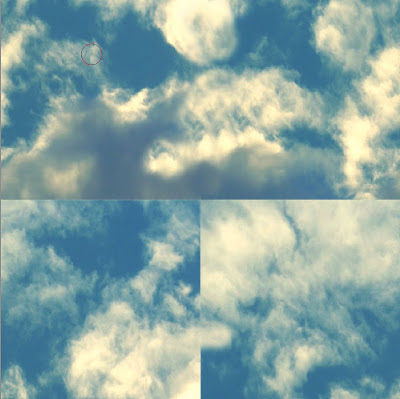
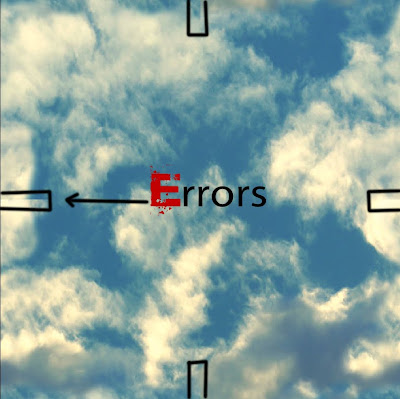
This may take about 6 or 7 times, and the finished image should look like this.
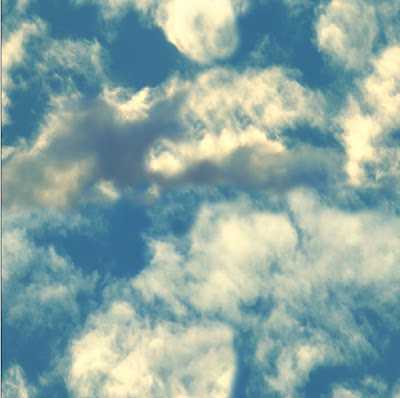
I will be updating this tutorial and showing you how to get this image in a skybox on 3D Max!
Visit www.D-an.co.uk!

