More of this at www.D-an.co.uk
This is some simple landscapes I have created, Chris has shown us some very simple methods of creating them by using Displace in 3D Max and creating some simple black and white images in Photoshop. Once this has been done you can then look for some textures and apply it to the landscape and add more realism to it.Here are some of the landscapes I created.
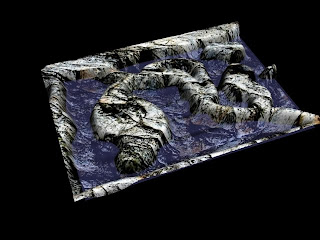
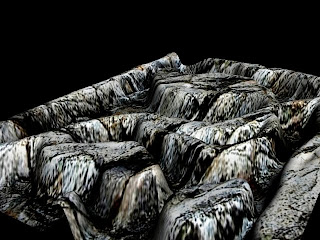
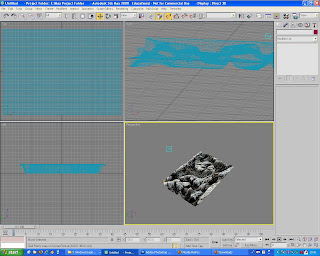
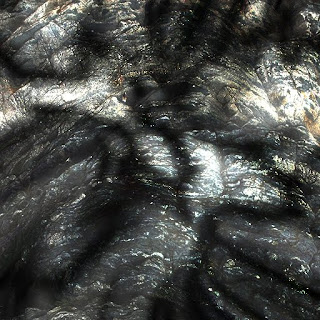
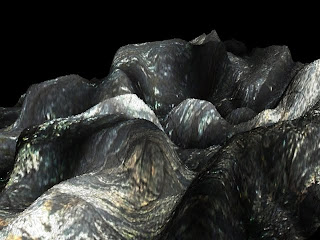
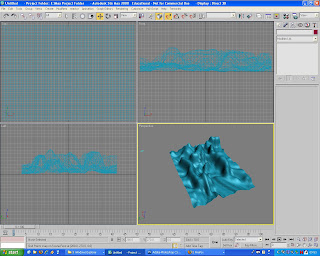
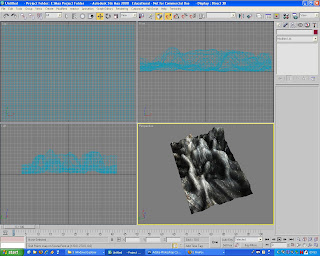
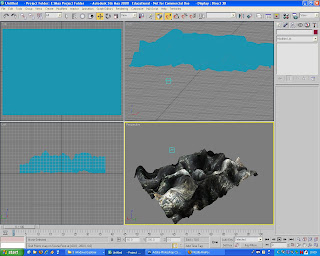 To start of I opened up a new image in Firefox, This was 512x512px and 72DPi This is the proper size generally used for maps and textures. Other sizes used are 256x256 and 128x128 These are used because they are the proper sizes for games engines and work properly without any errors or glitches. Once I had created this document I then used the paint bucket tool to fill the background black. The went to Filter>Render>Difference clouds and applied Difference clouds twice. This then created a number of clouds that created a contrast between the black with the white clouds. Then I opened 3Ds Max created a plane and in the modifier tab I changed the length and width segments to 100. And also in the modifier tab I selected Displace and selected the bitmap to be used as the one I have created and saved in Photoshop. This then makes all the bits on the image that were white tall and the darker bit lower. You can change the height by going to the strength bar and dragging the mouse up or down. This will create a nice looking effect. After that you can improve this alot by going to a texture website and getting a picture of a rock surface of some sand and then putting it over the original Photoshop image and using the blending options. I found that colour dodge gave a nice effect and defined the low points ffrom the high.

No comments:
Post a Comment